Details That Complete Interior Spaces
Trim and Finish Carpentry in Kingsport for baseboards, crown molding, door casings, and custom millwork
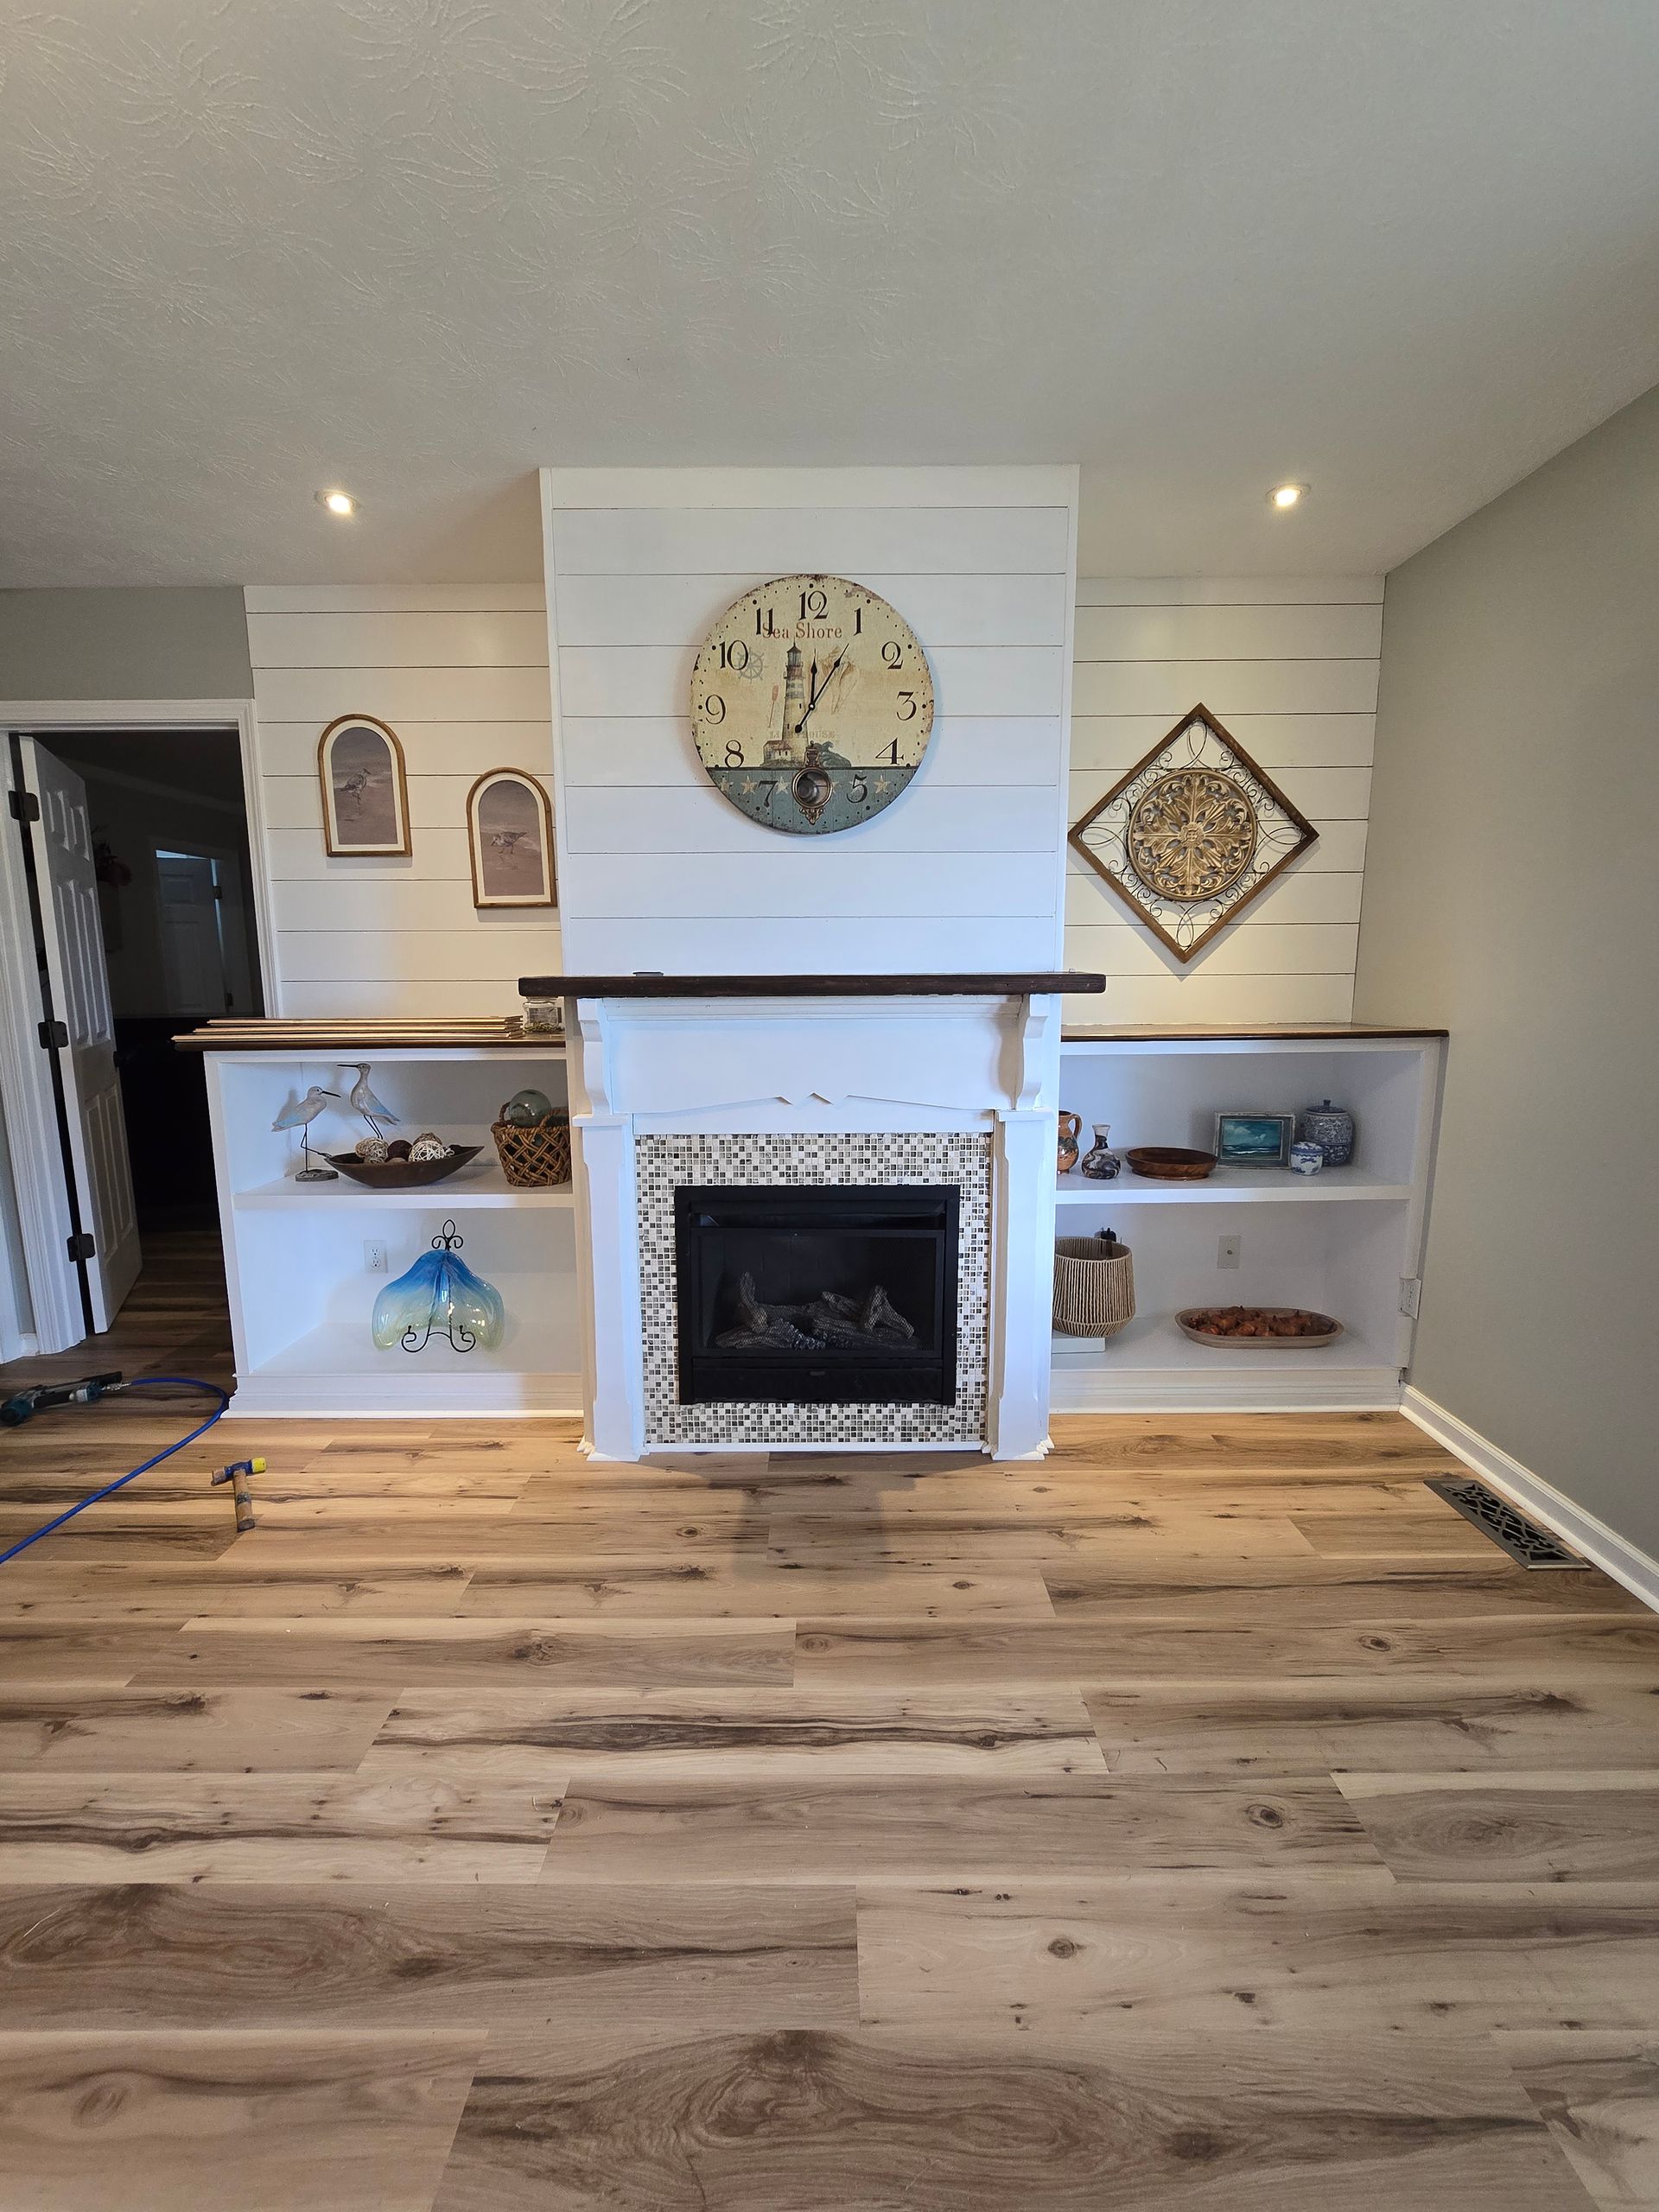
Rooms with bare drywall edges at floor and ceiling lines, plain door openings without casing trim, or mismatched molding profiles from piecemeal updates lack the finished appearance that signals intentional design and quality construction. Installing trim elements adds visual structure that frames walls, conceals expansion gaps left by flooring installations, and introduces architectural detail suited to both traditional and contemporary home styles. Smith Construction And Home Maintenance LLC handles trim and finish carpentry work in Kingsport with precision cuts, tight joints at corners, and clean installation that transforms plain spaces into polished rooms ready for final furnishing.
The process involves measuring walls and openings accurately, cutting trim pieces with miter saws to create seamless corner joints, fitting sections to account for walls that are not perfectly square or plumb, and securing trim with adhesive and finish nails that remain nearly invisible after installation. Crown molding requires careful angle cuts where ceiling planes meet walls, baseboards must align consistently at floor level despite minor subfloor variations, and door casings need uniform reveal where trim meets jambs. Caulking and filling nail holes before painting completes the installation and ensures trim reads as continuous rather than pieced together.
Arrange a project review to discuss trim options, molding profiles, and how finish carpentry fits into your renovation timeline.
What Precision Installation Accomplishes
Quality trim work depends on accurate measurements and cuts, as even minor gaps at miter joints become obvious once paint or stain highlights the contrast between wood and shadow lines. Coping inside corners on baseboards rather than relying solely on miters creates joints that remain tight even as wood expands and contracts with seasonal humidity changes, a technique that separates experienced finish carpenters from those focused only on speed. Selecting appropriate trim profiles for room scale and ceiling height prevents installations that look either too heavy and ornate or too minimal and unfinished relative to the space.
After installation, rooms gain visual cohesion as trim elements tie together walls, ceilings, and floors into unified compositions, baseboards protect lower wall sections from vacuum impacts and scuffs, and crown molding adds dimension that makes standard eight-foot ceilings feel more substantial. Walking through completed spaces reveals clean lines at every transition, consistent profiles throughout connected rooms, and details that match the home's architectural character whether that leans traditional, craftsman, or modern. These improvements directly affect how buyers and visitors perceive overall home quality during showings or gatherings.
Finish carpentry projects range from adding baseboards and door casings in newly renovated spaces to installing crown molding throughout existing homes as standalone upgrades. Custom work can include window trim, wainscoting, built-in shelving trim-out, or decorative elements that reflect specific design preferences. Installation timing typically follows drywall finishing and painting preparation but happens before final paint topcoats when trim will be painted rather than stained.
Common Questions About This Service
Property owners often ask about trim style selection, how carpentry work integrates with other projects, and what distinguishes quality installations from basic trim application.
What trim profiles work best for different home styles?
Traditional homes suit more ornate profiles with multiple detail lines and wider dimensions, while modern spaces benefit from simpler, flatter trim that provides clean transitions without competing for visual attention, and craftsman styles often use substantial baseboards and casings with minimal decorative elements but strong proportions.
How does finish carpentry timing coordinate with painting?
Trim can be primed and painted before installation for factory-like finish quality with no brush marks at joints, or installed bare and painted in place which allows caulking and filling to blend trim seamlessly with walls, with the best approach depending on whether trim will match wall color or contrast as a separate element.
What causes gaps to appear at trim joints over time?
Wood movement from humidity changes, house settling, or installation when materials had not acclimated to interior conditions leads to separation at miters and coped joints, which proper acclimation, quality fastening, and appropriate caulking minimize but cannot eliminate entirely in climates with significant seasonal variation like Tennessee experiences.
When should custom trim work be considered instead of standard profiles?
Custom milling makes sense when matching historic profiles in older homes, creating unique design elements that differentiate a property, or working around unusual architectural features where standard off-the-shelf trim dimensions do not fit properly or look proportional.
What tools and techniques ensure tight miter joints?
Accurate miter saws with sharp blades, test-fitting pieces before final cuts, understanding how to adjust angles for walls that are not ninety degrees, and using pin nailers or adhesive in addition to finish nails all contribute to joints that close tightly and remain stable after installation.
Smith Construction And Home Maintenance LLC applies careful measurement and cutting techniques to finish carpentry projects, creating trim installations that add professional detail to renovated and existing spaces. Schedule an estimate to explore trim options and plan installation around your project timeline.